
pilot skills
Mastering Automated Drone Mapping: A Step-by-Step Guide
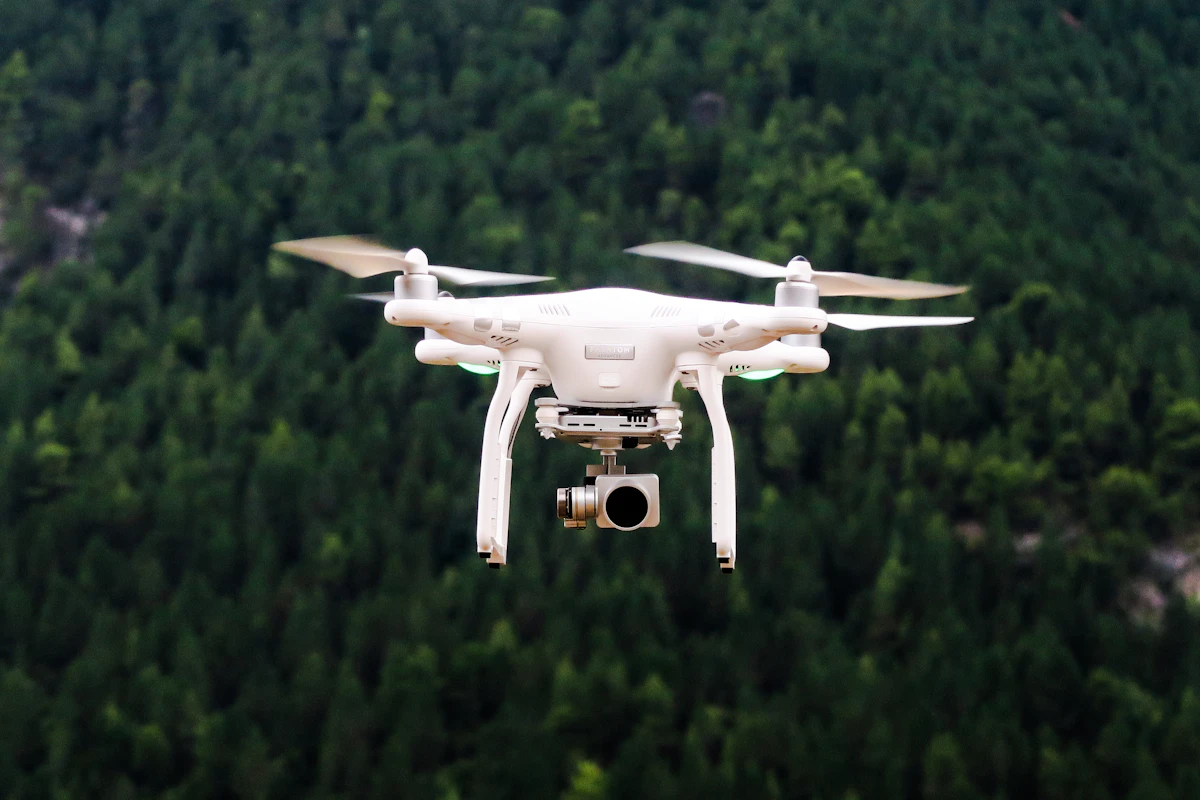
Learn the essential steps to plan and execute a high-precision automated mapping mission, from site assessment to flight data processing.
Site Assessment and Pre-Flight Planning
Success in drone mapping begins long before you arrive at the site. The first step is defining the scope of your project. Are you looking for high-resolution orthomosaic imagery, a 3D digital surface model (DSM), or precise volumetric measurements for a construction site? The output dictates your flight parameters.
Begin by scouting your area of interest using satellite maps. Check for potential hazards such as tall structures, power lines, and dense vegetation. It is essential to ensure that your flight path complies with local regulations, particularly Part 107 in the United States. If you are lacking the equipment or a pilot for a specific project, Avionic Ledger provides a reliable marketplace to find certified Part 107 pilots or browse high-end mapping drones tailored to your needs.
Configuring Flight Parameters for Accuracy
To achieve centimeter-level accuracy, you must configure your flight software—such as DJI Terra, DroneDeploy, or Pix4Dcapture—with the correct settings. Two critical variables are overlap and flight altitude.
For most mapping missions, a frontal and side overlap of 70% to 80% is the industry standard. This ensures that every point on the ground is captured from multiple angles, allowing your photogrammetry software to stitch images effectively. Flight altitude is a trade-off between coverage speed and Ground Sampling Distance (GSD). For instance, if you are flying a drone with a 20MP sensor at 200 feet, you can expect a GSD of approximately 0.7 to 1.0 cm/pixel. Always calculate your desired GSD based on the client’s requirements before finalizing your mission plan.
Managing Ground Control Points (GCPs)
Automated flight planning is only half the battle. If your project requires absolute accuracy (spatial coordinates tied to a real-world datum), you must use Ground Control Points (GCPs). These are physical markers with known GPS coordinates placed throughout the site.
By incorporating GCPs into your workflow, you correct the inherent GPS drift of your drone. Even with an RTK-enabled drone like the DJI Mavic 3 Enterprise, adding three to five GCPs across a 10-acre site significantly reduces vertical error. Ensure your GCPs are placed in areas of high contrast and are not obscured by shadows or moving equipment. If you are just starting out, checking the equipment listings on Avionic Ledger can help you identify drones that support RTK modules, which streamlines the mapping process immensely.
Optimizing for Lighting and Weather
Lighting is the most overlooked factor in drone mapping. Avoid mapping during high noon, as the harsh overhead sun creates deep, black shadows that prevent the software from matching features in those areas. The ideal window for mapping is typically two hours after sunrise or two hours before sunset, when the light is softer and more diffused.
Weather conditions are equally critical. High wind speeds can cause blurred imagery due to drone instability, while overcast conditions are actually beneficial because they provide uniform, shadowless lighting. Always check your local weather report for wind gusts exceeding 15-20 mph, as this is the standard operational threshold for most commercial mapping drones.
Executing the Mission and Data Quality Control
Once in the field, run a final pre-flight checklist. Ensure your SD card is empty and high-speed (V30 or higher), your batteries are fully charged, and the drone’s compass is calibrated. During the flight, monitor the telemetry data closely. If the drone loses GPS signal or encounters an unexpected obstacle, be ready to take manual control.
After landing, verify the image quality immediately. Zoom into a few random photos on a tablet to check for motion blur or exposure issues. If the photos are blurry, your flight speed is too high or your shutter speed is too slow. Catching these errors on-site saves hours of re-flying and post-processing frustration.
Topics
Put it to work
Get paid to fly
List your services or bid on posted projects — clients come to Avionic Ledger looking for licensed pilots.
See open projects